
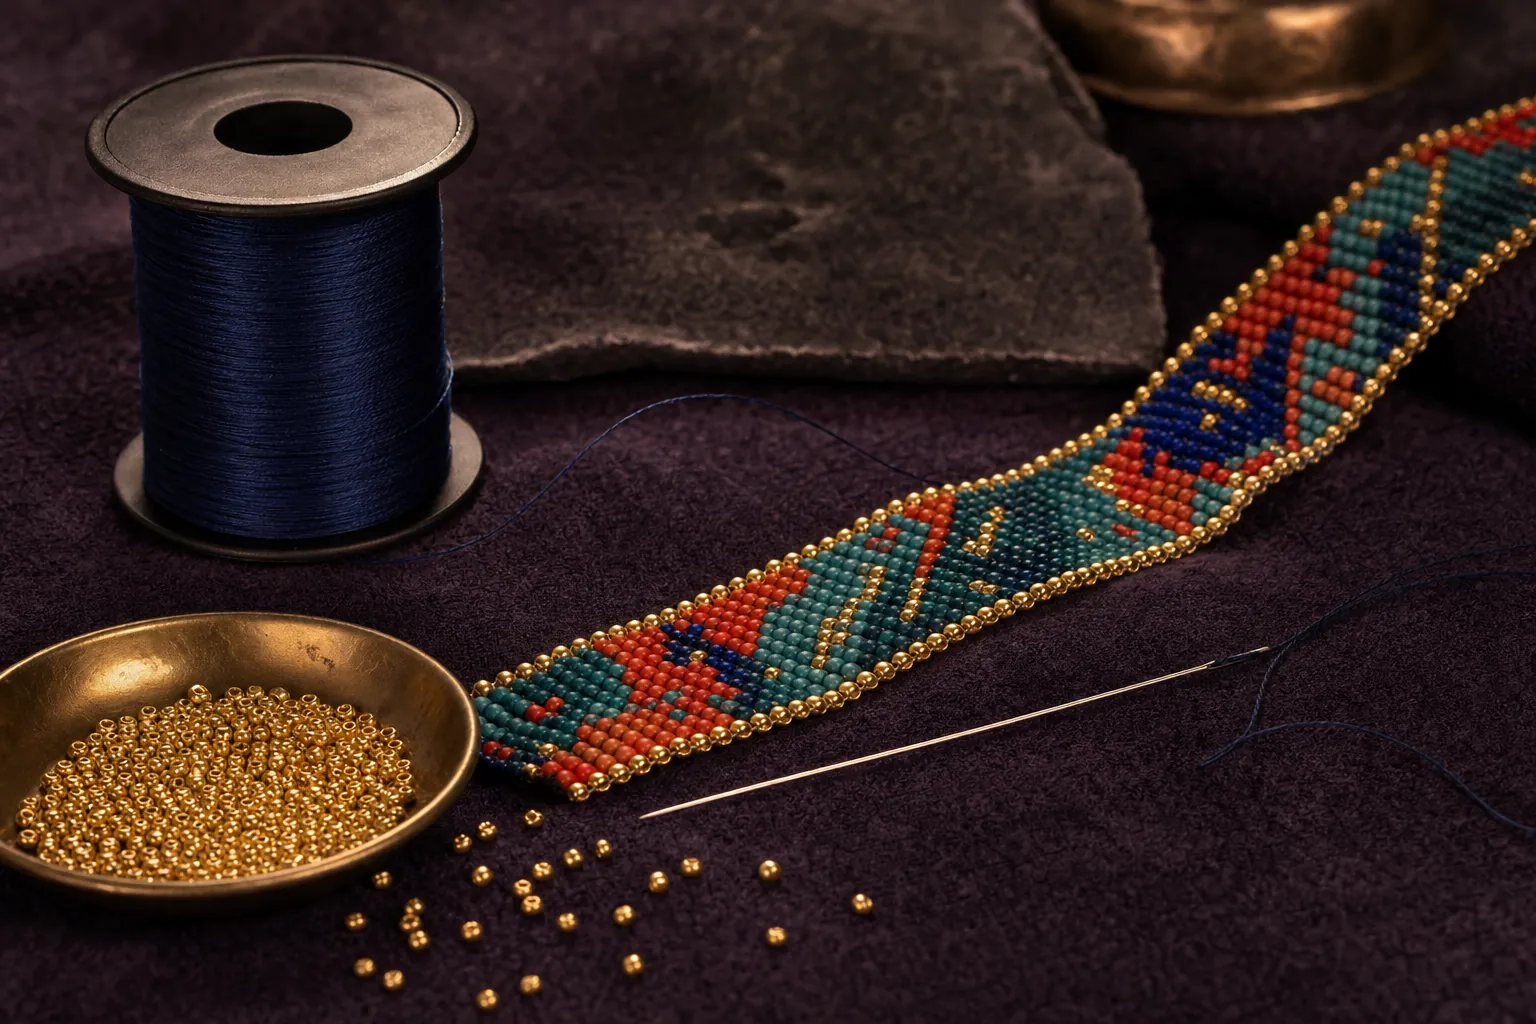
Bead weaving is one of those practices that looks intricate from across the table and becomes surprisingly logical once you can see the rhythm. A needle carries thread through a small group of beads, then returns through a few of them to hold the next row in place. Repeat that motion patiently and a line becomes a strip, a strip becomes a pattern, and a loose idea becomes something you can wear, give, or keep.
The first project does not need to prove anything. Start with a small flat band, a short bracelet sample, or a simple geometric swatch. Those modest pieces teach the habits that make every later project easier: choosing materials that cooperate, reading your own tension, and noticing when a row needs a small correction before it becomes a larger one.
What bead weaving means
Bead weaving is beadwork made by stitching beads together with thread rather than stringing them on a single line or attaching them to a fabric base. The thread travels through the bead holes in a planned path, so the beads support one another and create a flexible surface. Flat bands, earrings, rings, amulets, fringed edges, and dimensional forms can all begin from that same basic idea.
There are many stitch families, including peyote stitch, brick stitch, right-angle weave, herringbone, and loom work. They do not all behave the same way, which is why it helps to choose one for your first sample instead of trying to learn several at once. For a calm beginning, even-count peyote or a simple loom project gives you a clear repeat and lets you focus on spacing rather than improvising a complicated structure.
Gather a small, dependable start kit
A good first setup is simple: seed beads, fine beading thread, a needle that passes easily through the bead holes, scissors, and a soft work surface that keeps the beads from rolling away. You can add a bead mat, thread conditioner, a ruler, or a tray later. At the beginning, fewer tools make it easier to understand what is actually helping.

Choose thread and needle together. The thread should move through the beads without forcing them apart, and the needle should not fight you every time you change direction. The thread and tools guide is a useful place to compare the essentials available from Indigenous Vibe Beads. The John James beading needle range is also a helpful reference when you are learning how fine needle sizing can be.
For your first project, pick two or three colors that show the pattern clearly. A light, a dark, and one accent color are enough. Very similar shades can look beautiful later, but they make it harder to spot a misplaced bead while you are still learning the path of the stitch.
Set the supplies out before you thread the needle. Put each color in its own small dish or in a short line on the mat, keep the scissors slightly away from the beads, and clear enough space to lay the project flat. This is not about making the table look perfect. It keeps a tiny bead from becoming a search across the floor and makes it easier to return to the work after an interruption.
Good light helps more than most beginners expect. Sit where you can see the bead holes without leaning forward for every stitch, and use a lamp if the colors begin to blur into one another. Your eyes should not be doing all the hard work. When the setup is comfortable, it is easier to keep a relaxed grip and give each row the attention it needs.
Choose beads that make the stitch easier
Consistency matters more than chasing a perfect color at the start. When most beads are close in size and shape, rows settle into place with less effort. This is one reason makers often begin with quality seed beads: the piece reads more evenly, and you spend less time compensating for a bead that sits noticeably higher or wider than its neighbors.
Size 11/0 is a practical place to begin for detailed work. It is small enough to make refined patterns but still large enough to hold comfortably and see clearly. The Miyuki seed bead guide explains why this size is such a versatile choice. For broader background on bead shapes, finishes, and color families, Miyuki's official bead reference is useful to browse alongside a color palette.
Save very textured, unusually shaped, or mixed-size beads for a later experiment. Those materials can add wonderful personality, but they ask you to make more design decisions. A first swatch should let you feel the stitch, not negotiate every bead.
Pick one first stitch and learn its rhythm
Even-count peyote stitch is a strong first choice because it creates an even, flat surface with a repeating up-and-down thread path. After the first rows are established, you add a bead, pass through the next raised bead, pull gently, and repeat. The pattern becomes visible quickly, which gives you useful feedback before you have invested hours in the piece.
Loom beadwork is another approachable route when you enjoy straight rows and graphic patterns. It does require a loom, but the setup makes the structure easy to see. Brick stitch is excellent for triangles, edges, and shaped earrings, though its thread path can feel less obvious until you have a little practice. The best choice is the one that makes you want to sit down again tomorrow.

Make your first rows slowly
Cut a comfortable length of thread, not an armspan that turns into a knot before you begin. Leave a tail long enough to secure later. Thread the needle, pick up the starter beads for your pattern, and lay them on your mat before you pull tight. Seeing the first row flat on the surface makes it much easier to notice the color order and count.
As you add each new bead, guide the thread through the next bead in the established row and pull until the new bead rests beside its neighbor. The pull should be firm enough to remove slack, but not so hard that the beadwork starts to curl or the thread feels strained. Think steady rather than tight. Your hands will learn the difference faster when you give them room to notice it.
Pause every few rows. Lay the work flat, look at both edges, and gently nudge the beads into line. If the strip is beginning to bow, it is usually easier to correct the last few stitches than to hope the problem disappears later. A small adjustment is part of the work, not evidence that you are doing it wrong.
When you are working from a pattern, read only the next repeat instead of trying to hold the full design in your head. Mark the row you are on with a pencil, a digital note, or a small paper clip beside the pattern. For a simple stripe or geometric repeat, say the color order quietly as you pick up the beads. That small rhythm can prevent the most common early mistake: continuing the correct stitch with the wrong color.
Keep the first repeat short enough that you can recognize it at a glance. If you use four colors in a pattern that repeats every eight beads, build one repeat on the mat first and check it against the row you just finished. This turns the pattern into a series of small choices rather than a long count you have to restart whenever the phone rings or someone asks a question.
Know what to do when a row looks off
Most first-project problems have an ordinary cause. A bead sitting at an odd angle may be a different shape than the rest, or it may simply need the thread path tightened. A loose section usually needs a gentle extra pass through the nearby beads. A wavy edge often means the tension changed from one side to the other. Do not pull harder across the whole piece. Instead, look for the exact row where the shape began to change.
If the thread tangles, stop before tightening the knot. Let the needle hang for a moment, spread the loops on the mat, and trace the path backward with the needle tip. Keeping only a manageable amount of thread on the needle makes this much less frustrating. If you do need to remove a few beads, slide the needle back through them one at a time. The work is usually more forgiving than it looks.
Build a color plan before you commit
Beadwork rewards a little planning because colors repeat so visibly. Begin with a color that gives the eye a place to rest, then add an accent that brings energy. A third shade can soften the transition or create contrast. Before you start, line up a few beads on your mat in the order they will appear. It is a fast way to test whether a bright color needs more space or whether a dark shade is making the pattern feel heavier than you intended.

Make a short test strip when the palette matters. Three or four rows can tell you more than staring at unopened tubes. You will see how opaque, matte, transparent, and metallic finishes catch the light beside one another. That small trial also gives you a useful record for the next time a color combination feels right.
Finish the first sample, then decide what comes next
A finished practice swatch is more valuable than a flawless start that stays on the mat. When you reach the length you planned, weave the working thread back through several nearby beads, change direction once or twice, and trim close without cutting the structure. Secure the starting tail the same way. Then hold the piece, bend it, and look at it in daylight. Notice what feels strong, what feels too loose, and which colors you want to use again.
From there, make the next step specific. Turn the swatch into a narrow bracelet. Repeat the pattern in a second palette. Try a different edge. Or take the same materials into a new stitch. A small progression keeps bead weaving enjoyable because each project gives the next one a clear purpose.
Start with materials that support the idea
Indigenous Vibe Beads carries the practical building blocks for this kind of work: Miyuki seed beads, beading thread and needles, and collected color options for the next pattern you want to test. Browse the supply overview to see the current range, then use the Etsy shop for live availability and checkout.
Choose one color family, one dependable thread, and one project small enough to finish. That is plenty for a beginning. The confidence comes from the rows you complete, not from buying every possible tool before you start.
Frequently asked questions
Is bead weaving hard for a beginner?
It can feel unfamiliar at first, but it is learnable when the first project is small. Use a simple repeat, one bead size, and just a few colors. The first goal is even tension and a tidy edge, not a complicated design.
What beads are best for beginning bead weaving?
Use seed beads that are close in size and shape, especially for a flat first project. A small, consistent bead gives you cleaner rows and makes it easier to see how the thread is moving through the work.
What thread should I use for bead weaving?
Choose a fine, dependable beading thread that fits through the bead holes more than once. The best option depends on the bead size, stitch, and how soft or structured you want the finished piece to feel.
How do I keep my beadwork from getting loose?
Keep a steady, gentle pull after each pass and pause every few rows to flatten the work on your mat. If the piece begins to curve or buckle, loosen the last few stitches and correct the tension before continuing.
Related posts

Bead Weaving Patterns for Beginners: Start With Peyote
Learn how to choose and read bead weaving patterns by making a simple even-count peyote stitch sample.

Bead Weaving Thread: How to Choose the Right One
A practical guide to choosing beading thread for fit, tension, color, and a clean finish.

Loom Beading for Beginners: A Simple First Project
Learn how to set up a bead loom, weave clean first rows, and finish a simple seed bead practice band.
Bead Weaving Supplies: A Practical Starter Kit
A clear guide to the seed beads, thread, needles, and small tools that make a first bead weaving project feel manageable.