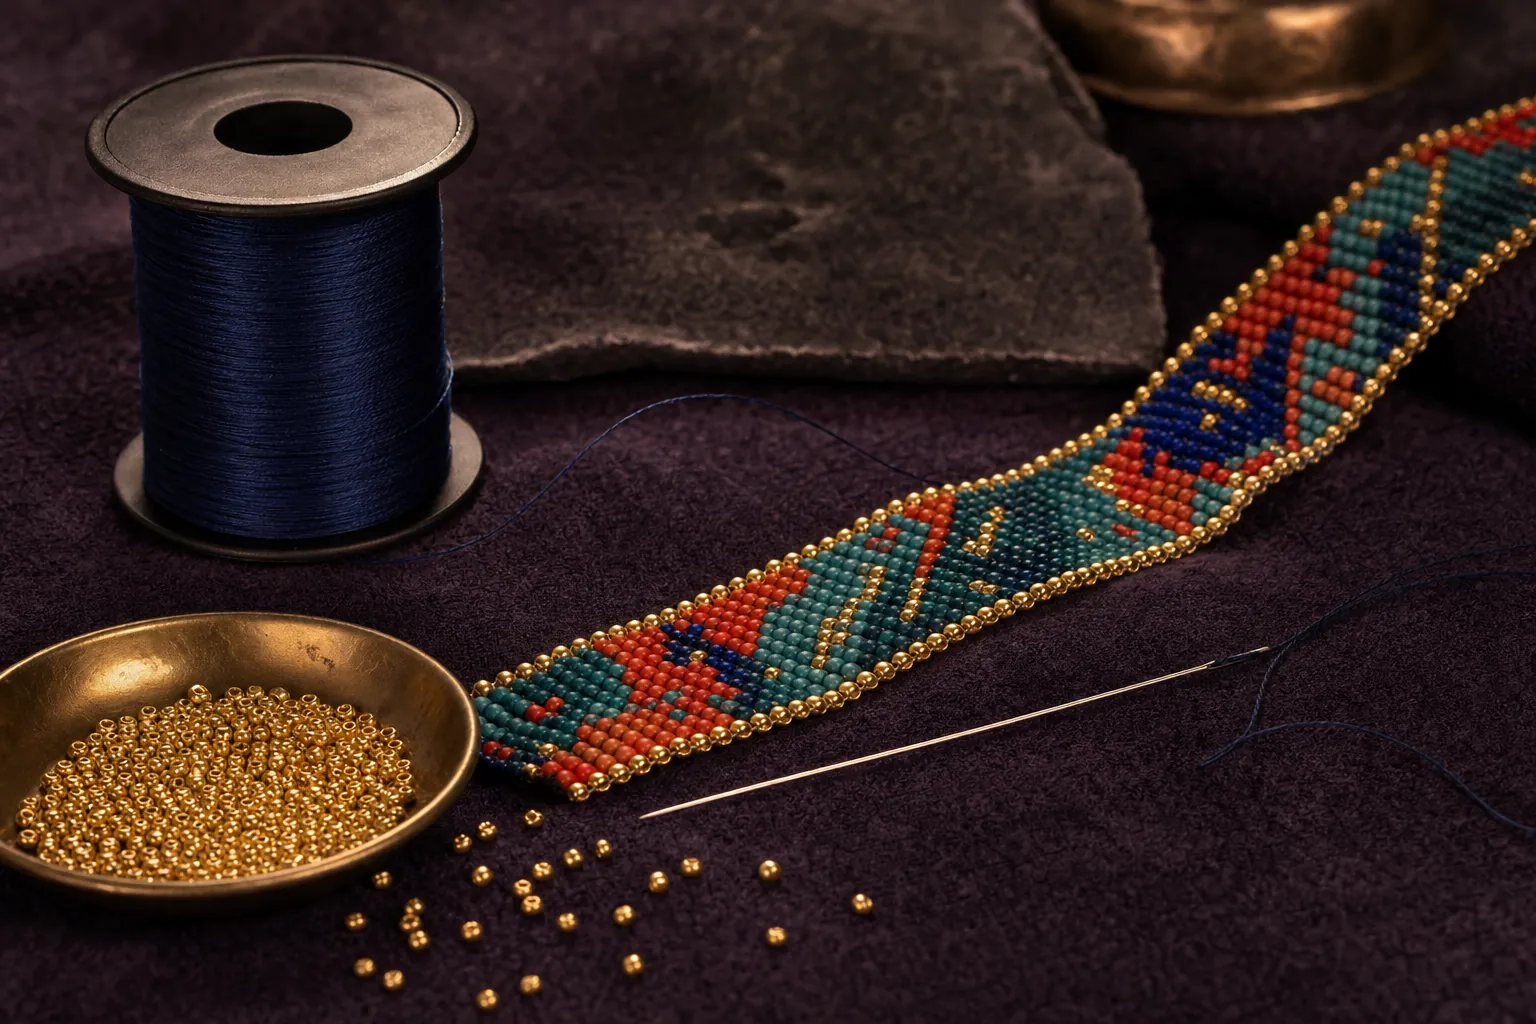
Bead weaving supplies do not need to be complicated. The best first kit is small enough to understand and dependable enough that the materials do not create extra problems while you learn. A few consistent seed beads, a fine needle, thread that fits, scissors, and a surface that keeps beads from rolling away are enough to make a first flat sample.
What matters is how the pieces work together. A beautiful bead that will not take a second pass of thread, a needle that catches in the hole, or a working length that tangles before the first row is complete can make a simple pattern feel needlessly difficult. Start with a modest project, test the exact materials together, and let each choice earn its place on the table.
1. Begin with a small, useful supply list
For a first off-loom bead weaving project, gather five essentials: seed beads, fine beading thread, a beading needle, scissors, and a bead mat or soft work surface. Small dishes, a ruler, thread conditioner, and a bead scoop can be helpful additions, but none of them need to decide whether you can begin today.
Keep the first project narrow and flat. A short peyote swatch, a simple bracelet band, or a small color sample gives you room to learn the thread path without needing a clasp, several bead shapes, or a complicated finish. The beginner bead weaving guide is a good place to choose a manageable first idea before you buy more supplies.
Set your kit out in the order you will use it. Place beads in separate groups, thread and needle together, and keep scissors slightly away from the bead pile. That simple setup makes it easier to pause, count, and return to the work without losing a color repeat or knocking a tube of beads onto the floor.
2. Choose seed beads that make clean rows easier
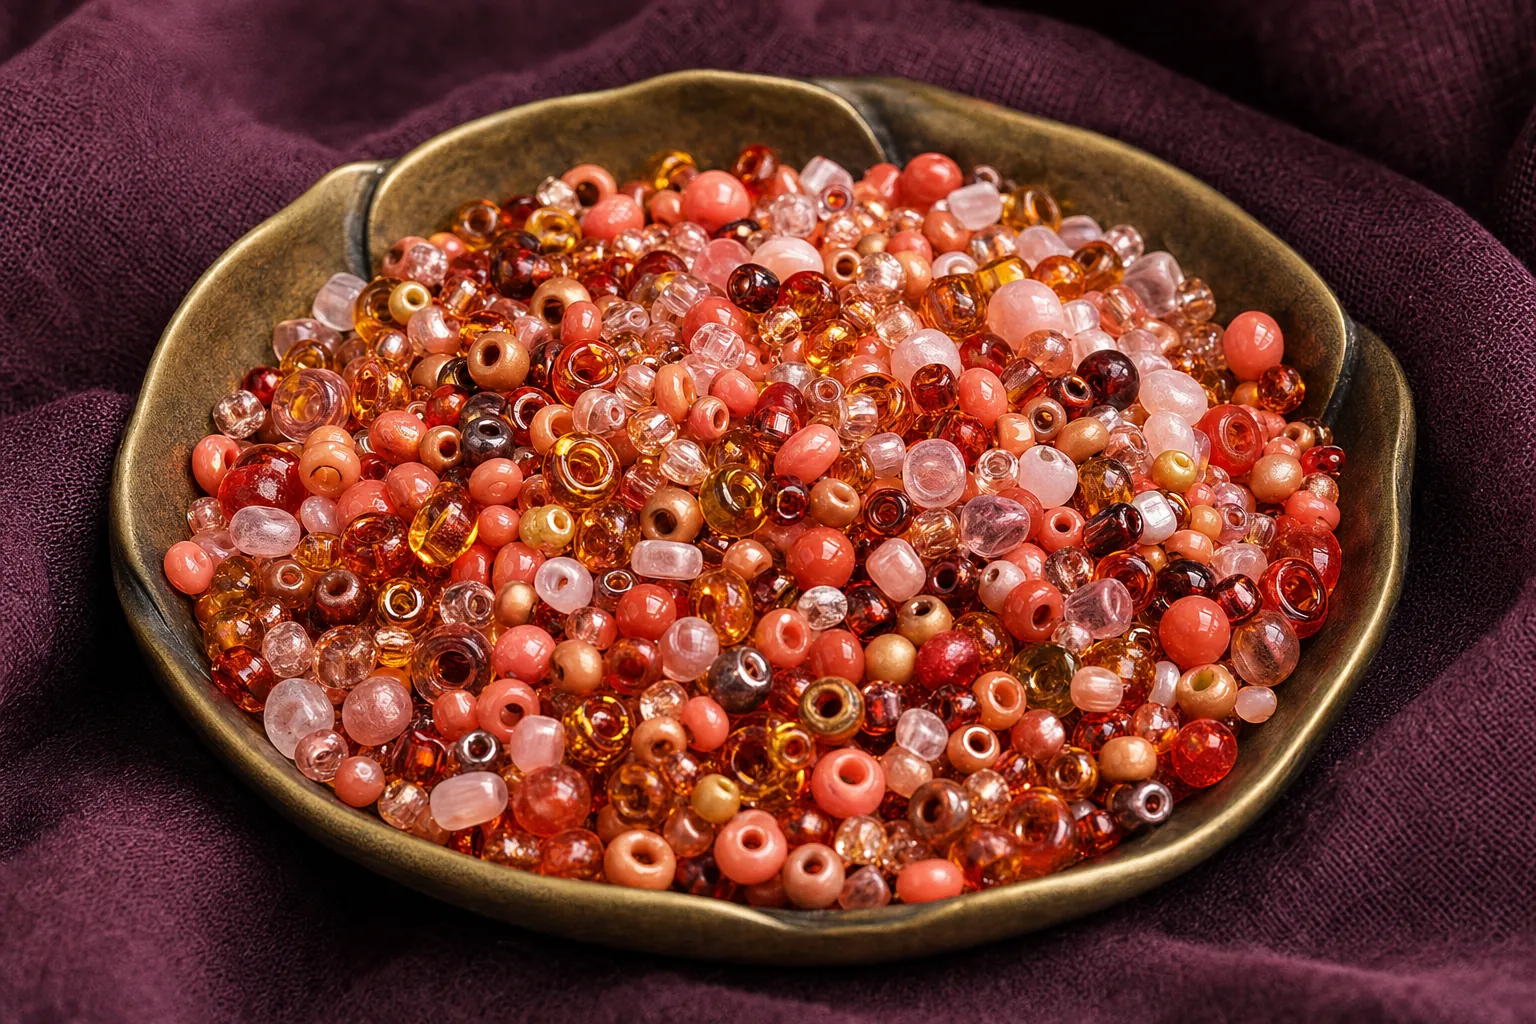
Seed beads are the foundation of most beginning bead weaving. For a first project, look for beads that are close in size and shape. When the beads behave consistently, rows settle more evenly and the edge is easier to read. It also makes it clearer when a problem comes from tension rather than from one unusually wide or narrow bead.
Size 11 seed beads are a practical place to start. They can create detailed work without being so small that every bead feels difficult to hold or see. Indigenous Vibe Beads carries both size 11 seed beads and Miyuki seed beads for makers who want to compare color, finish, and consistency. Miyuki's official bead reference is also useful when you are learning how finishes and shapes change the look of a palette.
For the first sample, use one bead size and two or three colors with clear contrast. A dark color, a light color, and one accent help you see the stitch and catch a misplaced bead quickly. Save mixed sizes, textured shapes, and very similar shades for a later project, when you already know how the basic thread path feels.
3. Pair thread and needle before starting the pattern
Thread, needle, and bead holes are a team. The needle needs to carry the thread through the beads without forcing the opening, and the opening still needs room for any return passes the stitch requires. A combination that feels easy at the first pass can become crowded when you reinforce an edge or weave in a tail, so test before you commit to a full row.
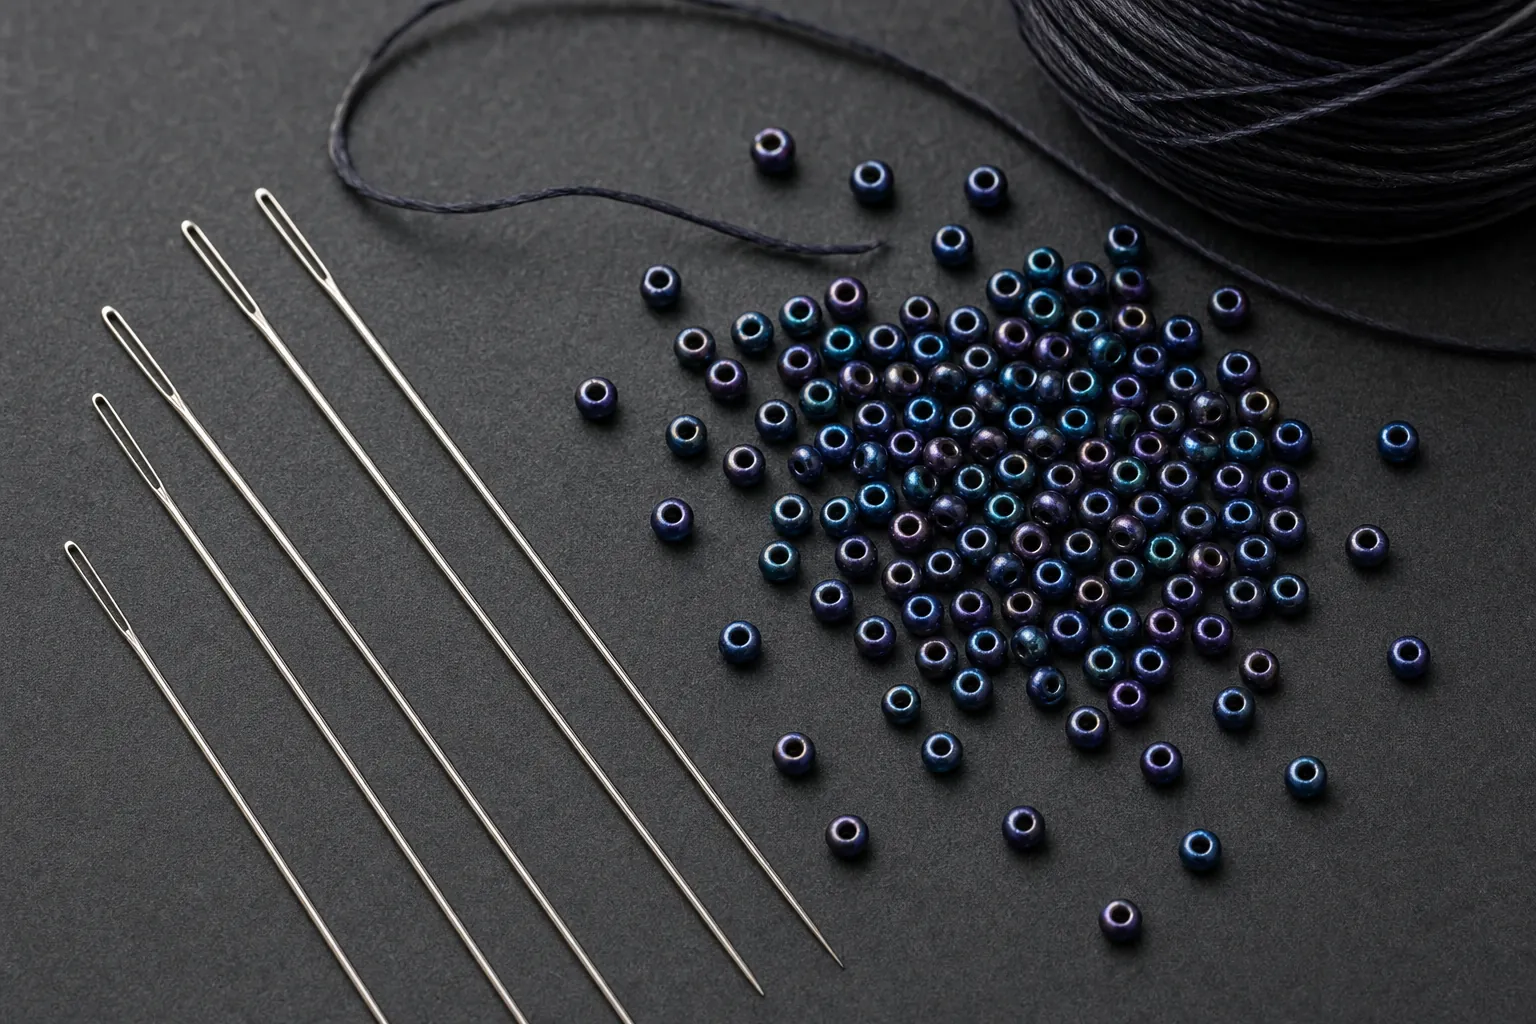
Thread a needle, pick up three of the exact beads you plan to use, then pass through each bead two or three times. The movement should be smooth and controlled. If you have to push hard or the thread begins to scrape and fuzz, choose a finer thread, a slimmer needle, or a bead with a more generous opening. The beading thread guide and beading needle guide can help you compare the parts of that pairing.
Fine seed-bead needles are designed for close work. The John James beading needle range is a useful reference for the slender needle styles made for repeated passes through small beads. Choose a needle that moves freely, but do not force it. A broken needle or stressed thread usually means the pairing is asking too much from the bead hole.
4. Use a bead mat or surface that gives small beads a place to stay
A bead mat is one of the simplest supplies to add and one of the easiest to appreciate. Its soft surface slows tiny beads down when you set them out, and it gives a small work-in-progress a place to rest flat between rows. Felt, flocked bead mats, and other non-slip surfaces all do the same basic job: they make the table calmer.
You do not need a large mat for a first sample. A small, clean area that holds the beads in place is enough. Keep one color in each little group instead of mixing every tube together. The arrangement lets you check your color order before the beads go on the needle, which is much easier than trying to correct a wrong bead several rows later.
A work surface also makes tension easier to judge. Every few rows, lay the beadwork flat. If it curls, waves, or pulls sharply to one side, pause and look at the last few stitches. Small corrections are normal, and catching them early protects the rest of the pattern.
5. Plan a color test before opening every tube
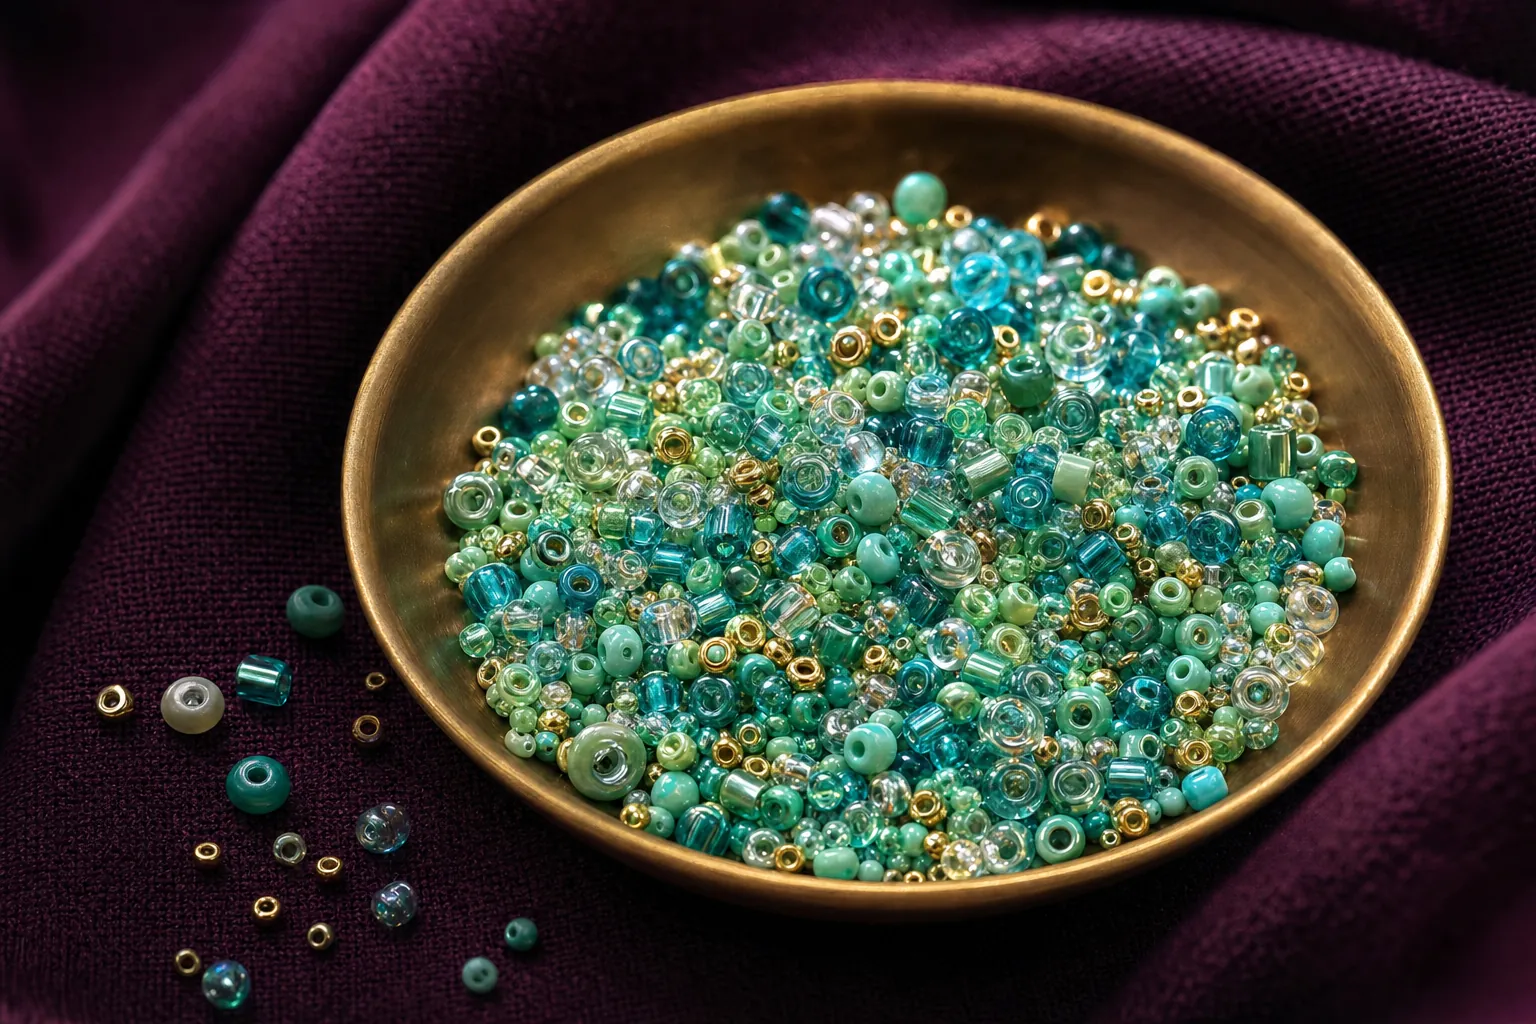
Color is often what brings someone to beadwork, but a simple test saves a great deal of second-guessing. Put one repeat of your planned colors in a row on the mat. Look at the group in natural light, then from a little farther away. You will see whether the accent has enough contrast, whether two shades blend together, and whether a metallic or transparent finish changes the balance.
Make a few stitched rows when the palette matters. Beads look different when they are part of a woven surface instead of sitting loose in a tube. A short swatch shows how the thread color peeks through, how a finish catches light, and whether the pattern has the energy you expected. Keep successful samples with a quick note about the bead size and thread color. They become useful references for future ideas.
There is no need to make the first palette elaborate. Two colors can teach you just as much as five. The goal is to make the stitch easy to read, not to prove how many shades can fit into one sample.
6. Keep scissors and a manageable length of thread nearby
Good scissors matter because a clean cut makes it easier to thread a fine needle and keeps a tired end from fraying further. Use a small sharp pair only for thread, and keep them beside the mat rather than under the bead pile. A blunt cut can leave a fuzzy tip that turns a simple threading step into a frustrating one.
Cut a comfortable working length, not the longest length you can stretch across the room. Long thread catches on tools, twists around itself, and collects wear as it travels through the beads. A manageable length gives you more control. Stop while there is still enough tail to weave through several nearby beads, then add a fresh piece before the thread gets too short.
The thread and tools page brings together the current essentials carried by Indigenous Vibe Beads. Use it to narrow your choices, then check the live Etsy collection when you are ready to select a thread or a spare needle for the project in front of you.
7. Match the kit to the stitch you want to learn
Not every bead weaving technique needs the same extra tool. Off-loom stitches such as even-count peyote can begin with the basic kit alone. The peyote pattern tutorial shows how a simple repeat helps you see the raised beads and thread path. For that kind of work, the most important choices are consistent seed beads, a fine needle, and enough room in the bead holes for return passes.
Loom beadwork adds one main item: a bead loom. The loom holds parallel warp threads while you stitch straight rows of beads across them. It is a satisfying approach when you enjoy graphic patterns and a visible structure. The loom beading guide explains how to choose a small practice band and set up even warp threads before you start.
Do not buy every possible tool for every possible stitch at once. Pick the next technique you actually want to try, build the smallest kit that supports it, and make a sample. That approach keeps the supplies useful and gives you a clear reason for each new addition.
8. What you can leave out of the first kit
A beginner kit does not need to include every bead shape, every thread color, several pliers, a large organizer, or specialty findings. Those supplies become useful when a particular project calls for them, but they can make the first decision feel larger than it is. Start with the tool that solves the next real step, rather than the tool that might be useful someday.
You can also wait on expensive pattern software, large quantities of one color, and complex closures. A short practice swatch only needs enough beads for a few rows and enough thread to test the path. Once you know you enjoy the stitch, you will have a better idea of whether you want more colors, a loom, a particular clasp, or a storage system that suits how you work.
There are a few additions that can make sense early. A second needle is useful because fine needles can bend or disappear under a bead mat. A small tray or dish for each color can keep the work orderly. Good light can reduce eye strain when you are looking for small bead holes. Even then, choose the simple version first. The kit should support the work, not become a project of its own.
The most reliable way to build a collection is one finished sample at a time. After each piece, notice the small thing that slowed you down. Maybe your bead colors blended together, your thread was too thick for return passes, or your work surface let beads roll away. Let that observation guide the next purchase. In a short time, you will have tools that are genuinely useful to your own hands and the kinds of pieces you want to make.
Build a kit that supports the next row
Indigenous Vibe Beads brings together the materials that make a solid first bead weaving kit: seed beads for detailed patterns, beading thread for close work, and fine needles that fit small bead holes. The shop overview points to the current collection and live Etsy availability.
Begin with a small color choice, a tested needle and thread pairing, and a project short enough to finish. The first kit is not meant to cover every future technique. It is meant to make the next row feel possible.
Frequently asked questions
What supplies do I need to start bead weaving?
Start with consistent seed beads, fine beading thread, a beading needle, scissors, and a bead mat or soft work surface. A small practice pattern and a few containers for beads are useful, but you do not need a large collection of tools for the first project.
What size beads are best for beginner bead weaving?
Size 11 seed beads are a practical starting point for detailed bead weaving. They are small enough for refined patterns, but still manageable to hold, count, and pass a fine needle through while you learn.
Do I need a bead loom to weave beads?
No. A bead loom is useful for straight, graphic rows, but many bead weaving stitches are worked entirely with a needle and thread. Even-count peyote is a good off-loom choice for a first flat sample.
How do I know whether my needle and thread fit my beads?
Thread the exact needle, thread, and beads you plan to use, then pass through the same bead two or three times. The combination should move smoothly without force. If the needle catches or the hole feels crowded, choose a finer thread or a slimmer needle before you start the full piece.
Related posts

Bead Weaving for Beginners: A Simple Start
A calm, practical introduction to choosing materials, learning your first rows, and building confidence with seed bead weaving.

Bead Weaving Patterns for Beginners: Start With Peyote
Learn how to choose and read bead weaving patterns by making a simple even-count peyote stitch sample.

Bead Weaving Thread: How to Choose the Right One
A practical guide to choosing beading thread for fit, tension, color, and a clean finish.

Loom Beading for Beginners: A Simple First Project
Learn how to set up a bead loom, weave clean first rows, and finish a simple seed bead practice band.