
Even-count peyote stitch has a satisfying way of turning a small handful of beads into a clean, flexible surface. The rows do not sit directly on top of one another. Each new bead settles into a gap, creating a stepped edge that shows you exactly where the needle needs to go next. That dependable rhythm is why peyote is such a useful stitch to learn early.
This tutorial is built for a first flat sample, not a large project that becomes frustrating halfway through. You will make a short band with a simple repeat, learn how to recognize the raised beads, and finish with a swatch you can use as the start of a bracelet, a color test, or a small design reference. Slow, visible progress is the point.
Choose an even-count pattern for the first try
Peyote stitch can begin with an even or odd number of beads across the row. Even-count peyote is the easier starting point because both edges follow the same simple turn. At the end of a row, you reverse direction and stitch through the next raised bead. Odd-count peyote needs a special turn on one side, which is useful later but unnecessary for a first practice piece.
Keep the first pattern small. A band that is eight to twelve beads wide and about two inches long gives you enough room to see the structure without committing to a long count. Choose three colors with contrast, such as a dark base, a light shape, and a small accent. When adjacent colors are too similar, it becomes harder to tell whether a bead belongs in a gap or on the edge.

Geometric repeats work especially well because they reveal a mistake quickly. Try a simple stripe, a centered diamond, or a stepped diagonal. You do not need graph paper to begin, but it helps to line up one repeat of beads on the mat before threading the needle. The goal is to make the next choice obvious, not to memorize a complicated design.
Gather materials that cooperate
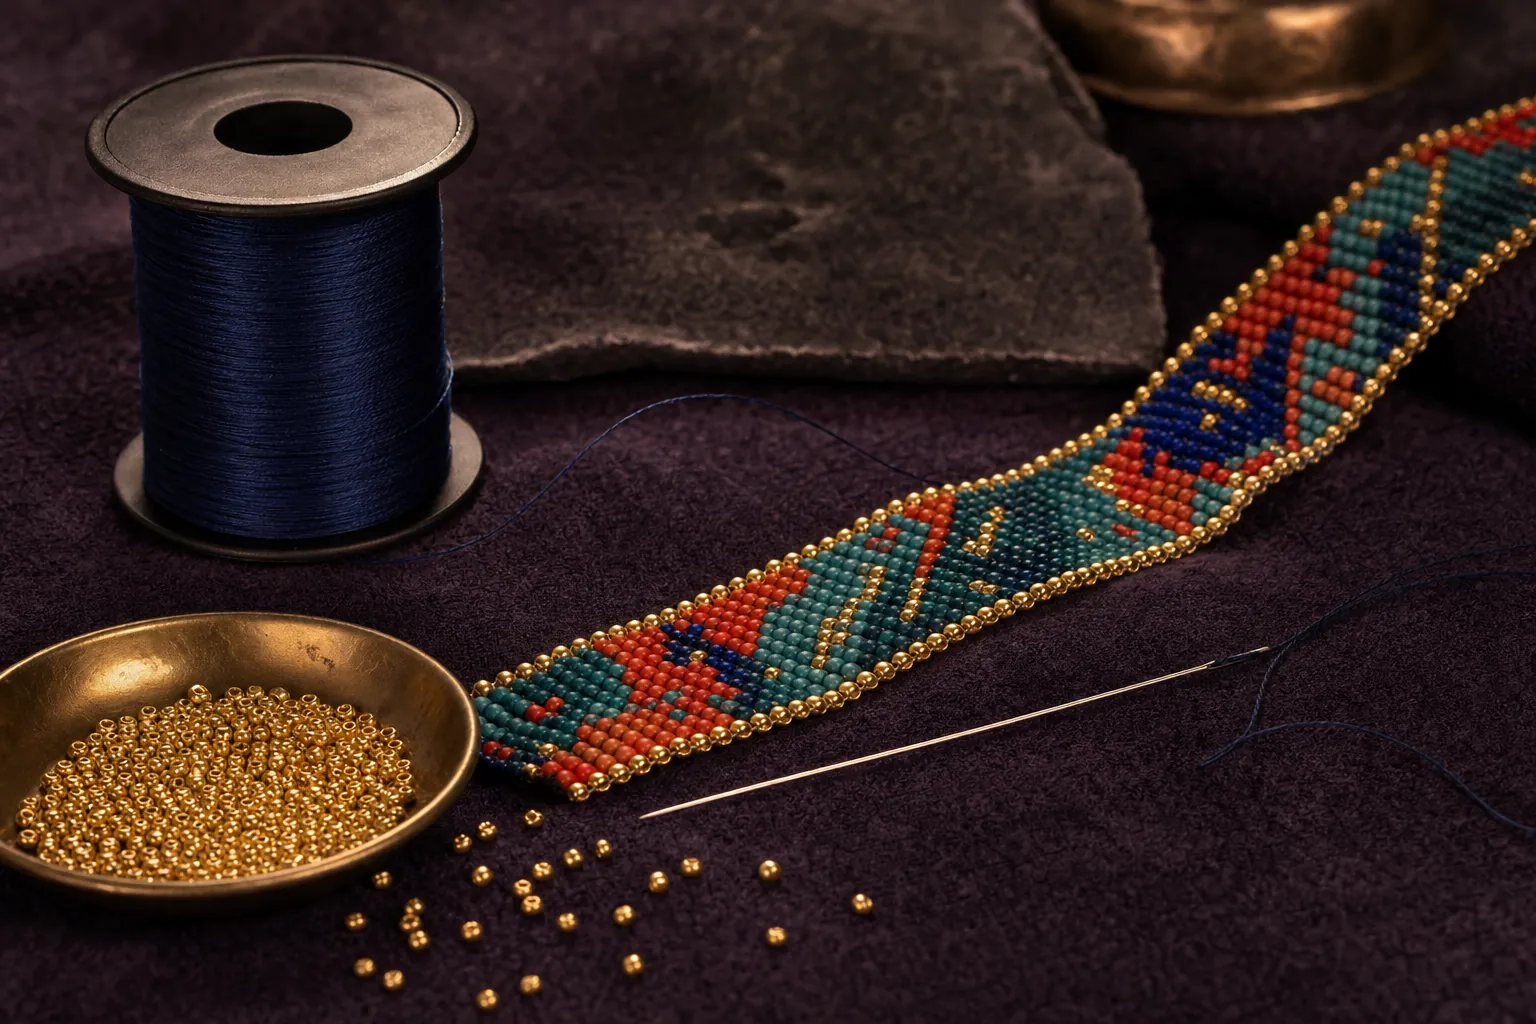
For a first peyote stitch sample, use seed beads that are close in size and shape, a fine beading needle, comfortable thread, scissors, and a bead mat or other soft work surface. Consistent beads make the edges cleaner because each row has less variation to absorb. A mat keeps tiny beads from rolling away while you count or change direction.
Size 11/0 seed beads are a practical choice for this scale of work. They leave enough room to pass thread through more than once without feeling oversized in the finished pattern. The size 11 seed bead guide can help you choose a quantity and finish, while the Miyuki seed bead guide explains why a consistent, detailed bead is useful for woven projects.
Match the needle to the bead holes and thread. You want the needle to travel through the bead without forcing it, especially when you need to reinforce an edge or weave in a tail at the end. Indigenous Vibe Beads carries beading thread and seed-bead needles for close, patient work. If you are comparing needle sizes, the John James beading needle range is a useful reference.
Set up the first two rows
Cut a manageable length of thread, then leave a six-inch tail before you begin. A shorter working length tangles less and is easier to correct when you are learning. Thread the needle and pick up the beads for the first two rows in the order of your pattern. For an eight-bead-wide sample, you would pick up sixteen beads before you make the first turn.
Lay the strand on the mat before pulling it snug. You should be able to see the color sequence without lifting the beads into the air. Once the order looks right, move the beads down the thread, leaving the tail free. The first two rows can look like one loose line at this stage. That is normal. Peyote starts to show itself when the third row begins.
Pick up the next bead in your repeat. Skip the final bead in the string and pass the needle through the bead just before it. Pull gently. The new bead will sit beside the skipped bead instead of on top of it. Continue by picking up one bead, skipping one, and stitching through the next. The piece will fold into the familiar staggered shape as the row comes together.
Read the raised beads, one stitch at a time
After the third row, stop trying to think of the work as a long line of beads. Look for the beads that sit slightly higher along the edge. Those raised beads are the ones your needle travels through. Pick up a new bead, pass through the next raised bead, pull to remove the slack, and repeat. The new bead fills the low space between the raised ones.

It helps to keep the piece flat on the mat while you learn the motion. Work close to the beads rather than pulling a long length of thread through the air. Every few stitches, pause and gently straighten the strip with your fingertips. You are looking for a repeated up-and-down edge and thread that lies quietly inside the beadwork rather than looping between beads.
When you reach the end of the row, turn the piece around. With even-count peyote, the next raised bead is waiting at the opposite edge. Pick up the first bead of the next row and stitch through it. The turn can feel awkward the first few times, but it becomes easier once you trust the raised-bead rule. You are not guessing the path. The edge is showing you where to go.
Keep tension firm, not tight
Good peyote stitch tension holds the beads together without making the strip curl. Pull after each stitch until the new bead rests against its neighbors, then stop. A hard tug can make the edges bow, especially when the thread catches suddenly. A very loose pull leaves gaps and makes it harder to tell which beads are raised.
Check the work every few rows by laying it flat. Both long edges should look orderly, and the beadwork should settle without a wave. If one side starts to flare, look back at the last several stitches. You may have skipped the wrong bead, used a bead that is much larger than the others, or changed your tension as you turned the row. Fixing two or three fresh stitches is much easier than repairing a problem after it has traveled through the design.
Do not judge the first inch too harshly. The beginning rows have less structure, so they can feel a little loose or irregular. Once the pattern has several rows, the beadwork becomes more stable. A short sample is valuable precisely because it lets you feel that change without spending an afternoon on a pattern you do not yet understand.
Add thread before you run out
When the working thread is getting short, do not wait until there is only an inch left at the needle. Stop with enough length to weave the tail through several nearby beads. Travel through the existing pattern, change direction once or twice, and trim the thread close to the work. The thread should disappear into the beadwork instead of ending at the outer edge.
To add a new length, start a few rows back from where you stopped. Leave a short tail, weave through several beads in a small zigzag path, and bring the needle out at the next bead you need for the pattern. Then continue as if the new thread had been there all along. The thread and tools guide is useful when you are choosing a dependable thread for repeated passes through small bead holes.
Keep the new thread path close to the existing one, but do not force every pass through the exact same bead. Spreading the anchoring stitches through a small area keeps one section from becoming crowded. After a few more rows, you will no longer see where the new thread began. That quiet finish is the aim.
Use mistakes as markers, not emergencies
The most common beginner mistake is adding a bead in the wrong place. If the edge loses its alternating rhythm, stop before starting another row. Find the last bead that sits correctly in a gap, then trace the thread back through one stitch at a time. Removing a few beads is usually faster and neater than trying to force the rest of the pattern to compensate.
A second common problem is a thread tangle. Let the needle hang, set the beadwork on the mat, and open the loop gently with the needle tip before pulling. Tightening a knot without seeing it usually makes the problem worse. Working with a moderate thread length and keeping scissors away from the bead pile both make the table easier to manage.
If a bead appears crooked, first check whether it is simply rotated. Roll it lightly between your fingers or pass the needle through the nearby beads once more to settle the row. If it is visibly larger, narrower, or a different shape than its neighbors, replace it. Consistency matters most on the edges, where one unusual bead can make an otherwise clean pattern look uneven.
Finish the practice band cleanly
When the strip is as long as you planned, weave the working thread back through several nearby beads. Change direction once or twice, following the existing path rather than adding a new visible line of thread. Trim the tail close to the beadwork without cutting the structure. Then weave in the starting tail using the same approach.

Hold the finished sample in daylight and bend it gently. It should flex without gaps opening along the rows. Notice which colors read clearly, where your tension feels most even, and whether the width is comfortable in your hand. Those observations are more useful than trying to make the first version perfect.
Turn the sample into the next project
Once the stitch feels familiar, repeat the same width to make a narrow bracelet band, build a longer geometric strip for an earring base, or test a second palette with one finish changed. The materials do not need to become more complicated at the same time as the design. Keeping one part familiar gives you room to notice the next skill.
Start with seed beads suited to detailed weaving, then choose the thread and needle that let the stitch move freely. The supply overview points to the current collection, and the Etsy shop shows live availability when you are ready to choose colors for the next pattern.
Frequently asked questions
Is peyote stitch good for beginners?
Even-count peyote stitch is a good first off-loom bead stitch because its rhythm becomes predictable after the setup rows. Start with a short, flat swatch and use three colors with visible contrast, so the raised beads are easy to see.
What size beads should I use for peyote stitch?
Consistent seed beads are the simplest choice for a first peyote stitch project. Size 11/0 is small enough for detailed patterns while still being comfortable to handle and easy to see.
Why does my peyote stitch look uneven?
Uneven edges usually come from changing tension, an accidental missed bead, or a bead that differs noticeably in shape from the rest. Lay the piece flat every few rows, then correct the exact row where the edge begins to change instead of pulling harder on the whole strip.
Can I make a bracelet with peyote stitch?
Yes. A narrow, flat peyote stitch band is a practical first bracelet project. Make a small practice swatch first, then repeat the same width and pattern when you are ready to add a clasp or create a simple tied closure.
Related posts

Bead Weaving for Beginners: A Simple Start
A calm, practical introduction to choosing materials, learning your first rows, and building confidence with seed bead weaving.

Bead Weaving Thread: How to Choose the Right One
A practical guide to choosing beading thread for fit, tension, color, and a clean finish.

Loom Beading for Beginners: A Simple First Project
Learn how to set up a bead loom, weave clean first rows, and finish a simple seed bead practice band.
Bead Weaving Supplies: A Practical Starter Kit
A clear guide to the seed beads, thread, needles, and small tools that make a first bead weaving project feel manageable.